
This year, I wanted to make my brother something special for his birthday. Instead of just sending him some store-bought Halmark card, I decided to make him one myself! Using my new-found Arduino skills, I set out to create a birthday card that would inspire him to learn to solder. The end result is the educational musical birthday card:
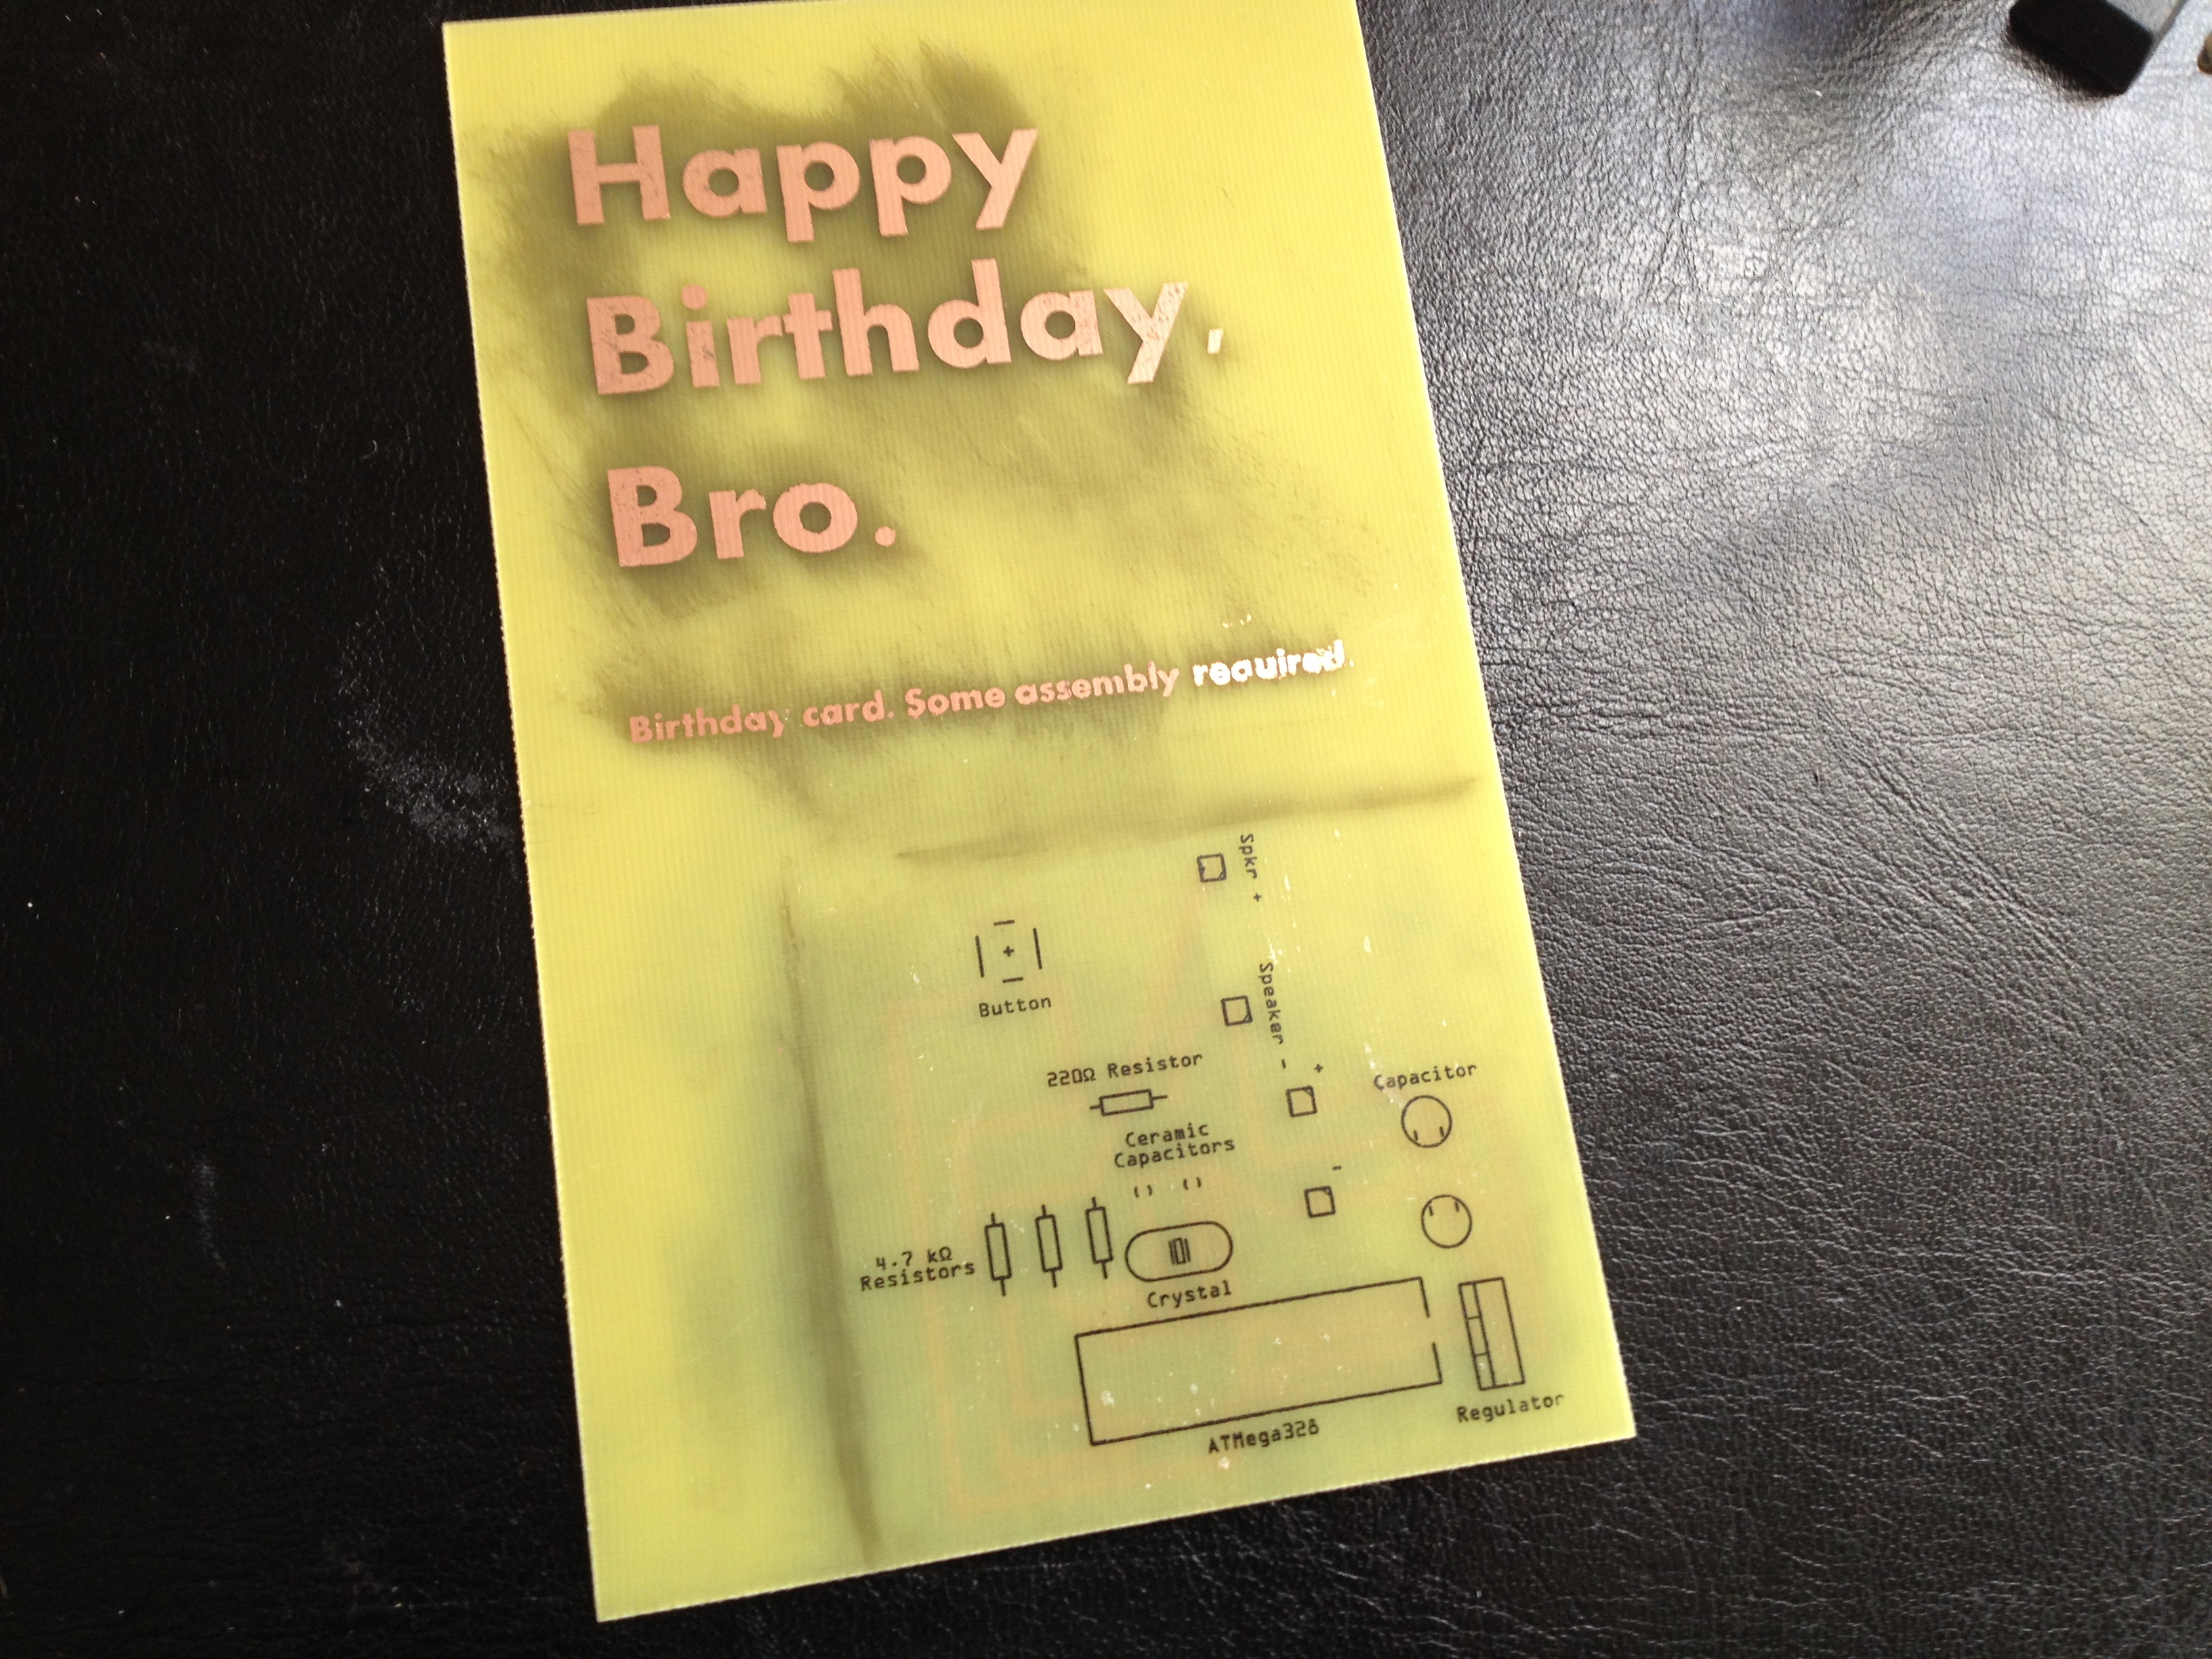
This was my first ever two-sided PCB, although it doesn’t really take advantage of any communication between the two sides of the board. The two-sided board is just used such that the writing on the card and the circuit traces can be on opposite sides for aesthetics.
With the card, I included a kit of parts as well as a link to instructions to assemble the card: https://www.jeremyadamwilson.com/birthday-card-instructions/
I made the “silkscreen” portion (the black text and images) by toner transfer after I etched and clean up all the copper traces. This proved to be a very effective and simple method of adding text and images to a board for a more complete and professional look.
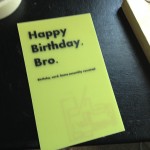
A quick making-of gallery:
-

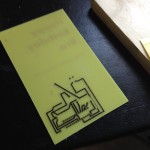
- Transferring Toner for Text
-
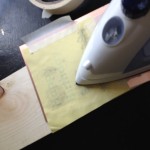
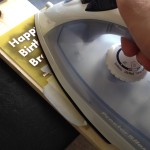
- Ironing on the toner for text
-
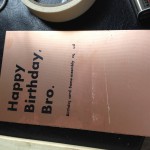
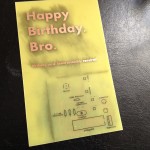
- After transferring toner
-

- Etching the board
-
- After etching – front
-
- After etching – back
-
- Transferring “silk screen”
-
- Complete Birthday Card!
My brother soldered the parts on, and he sent me a photo of the completed birthday card, which works!
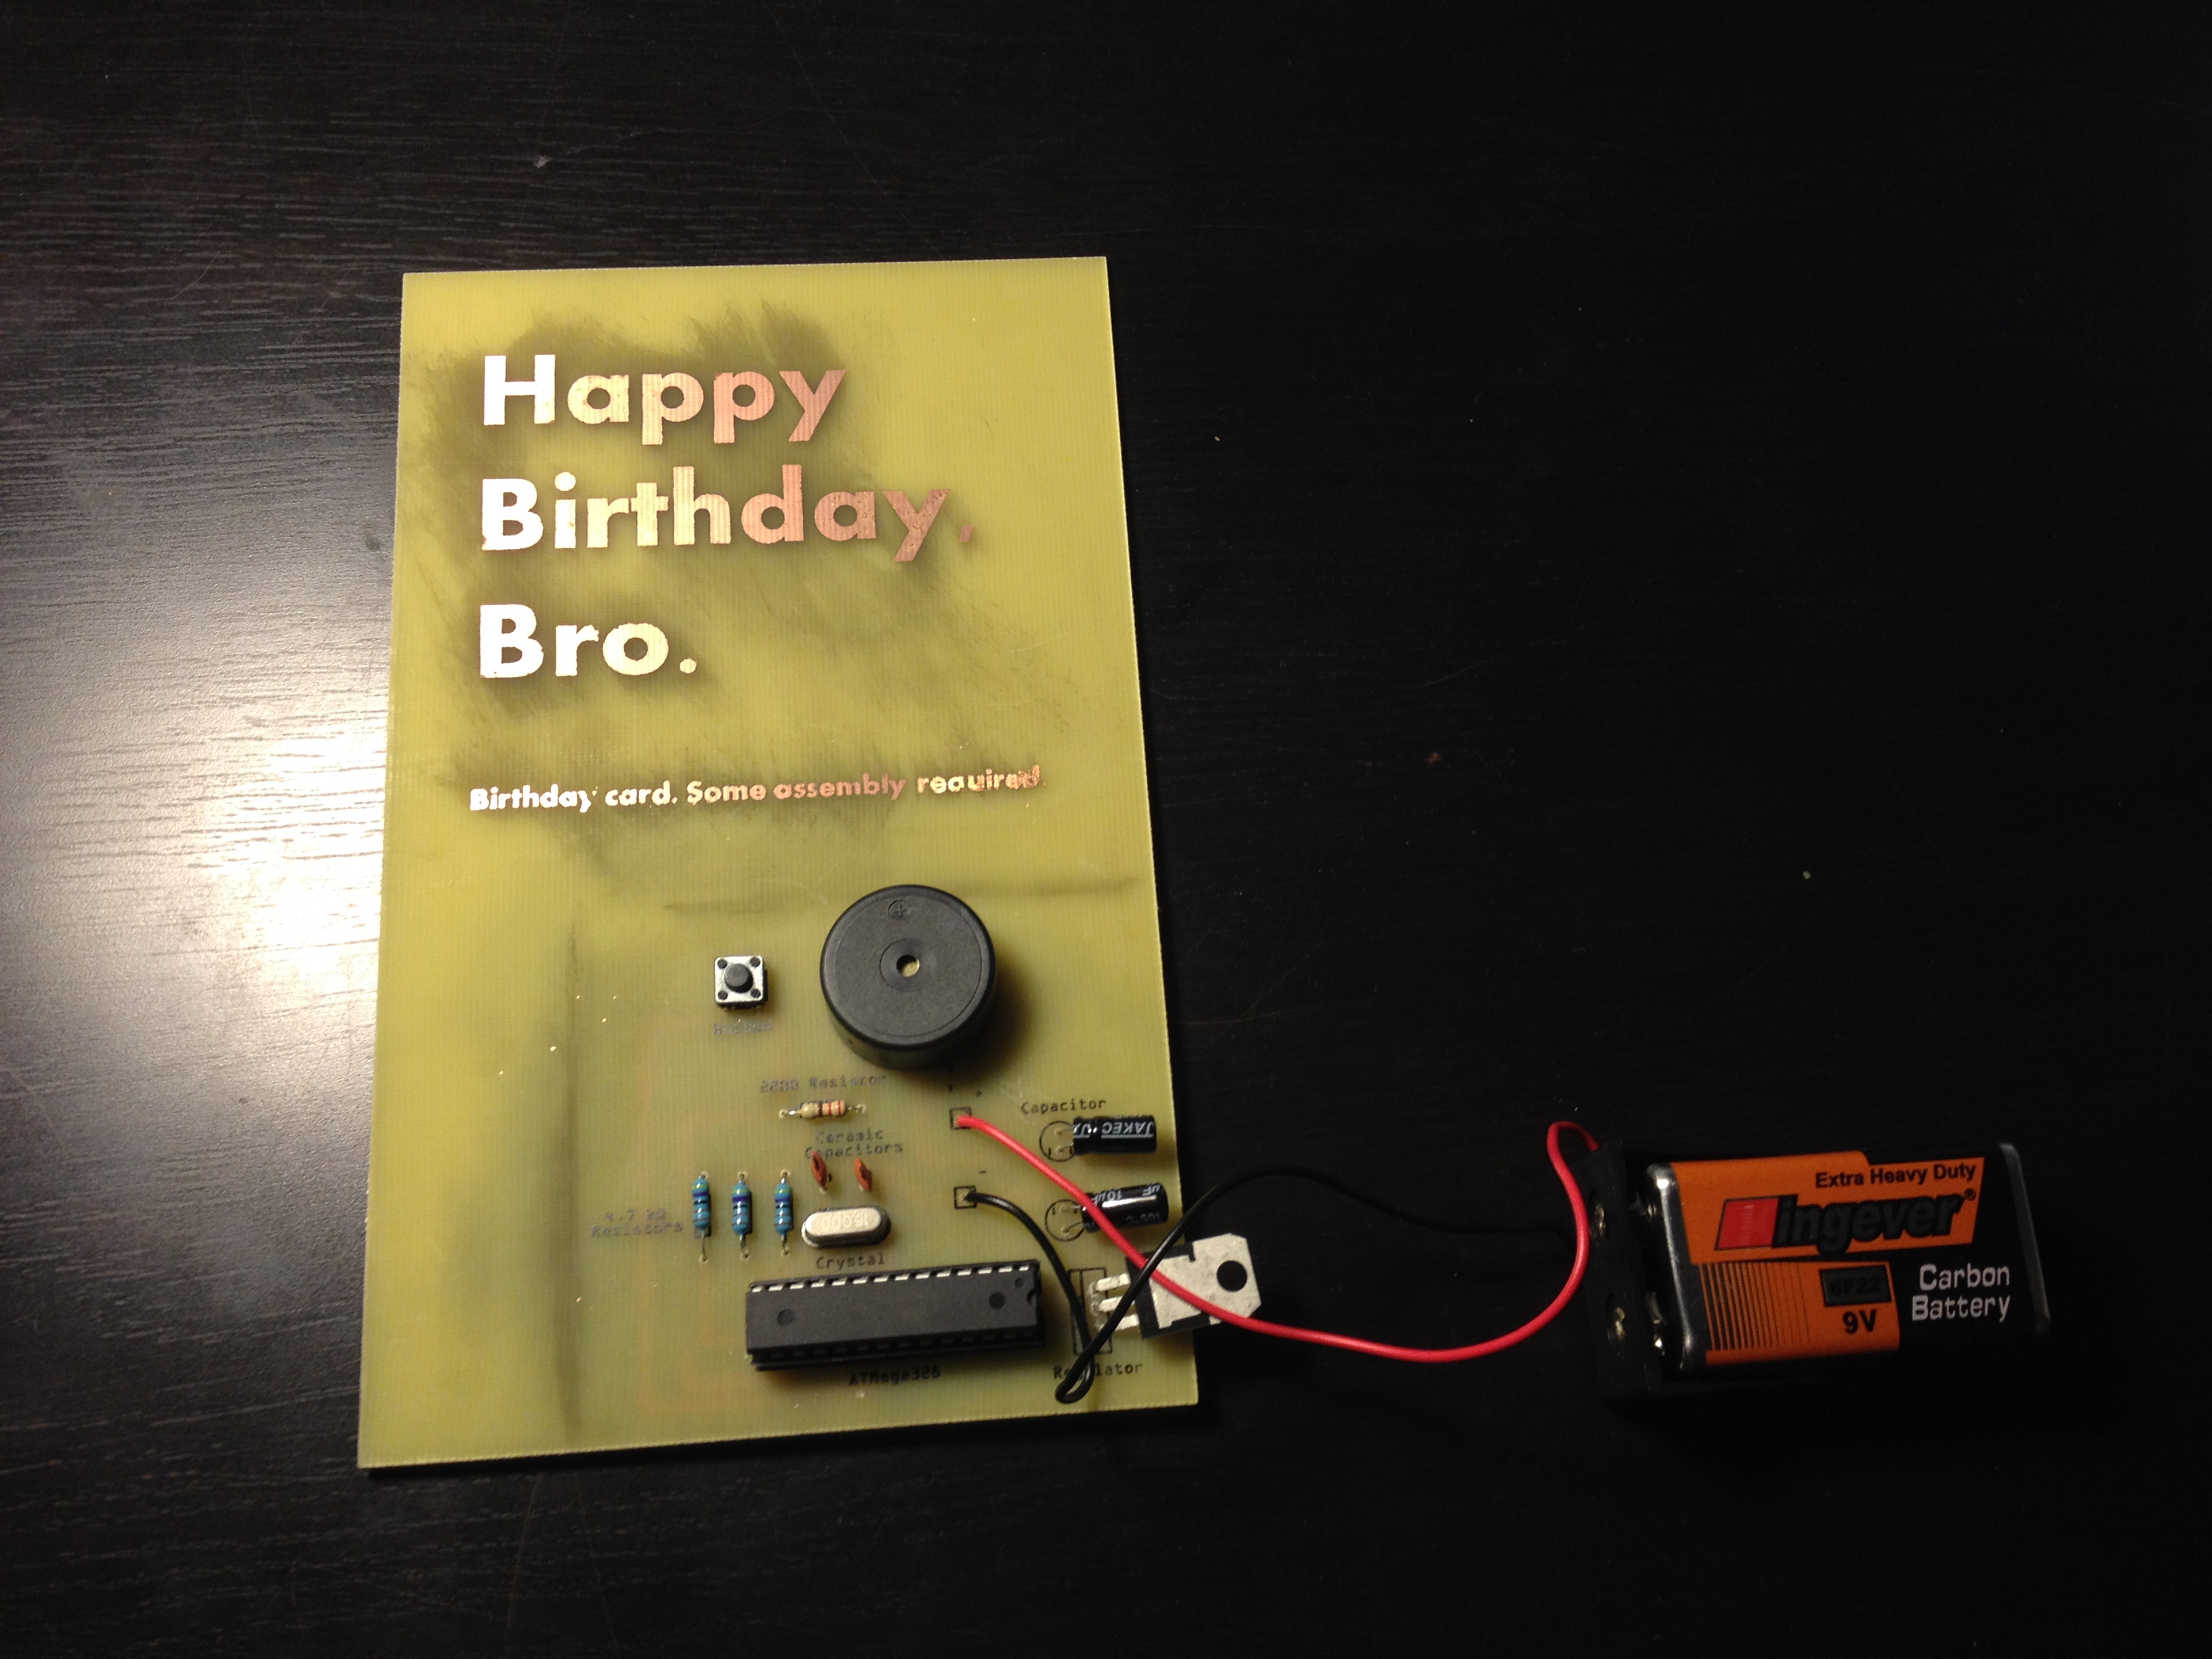
A demo of the circuit working can be seen here:
http://www.youtube.com/watch?v=ASfwomKhCUE
As usual, all of the code and a schematic are posted on github:
https://github.com/jerwil/Birthday_Card
Special thanks to http://miduino.net/ for providing an easy way to turn a midi file into arduino code.